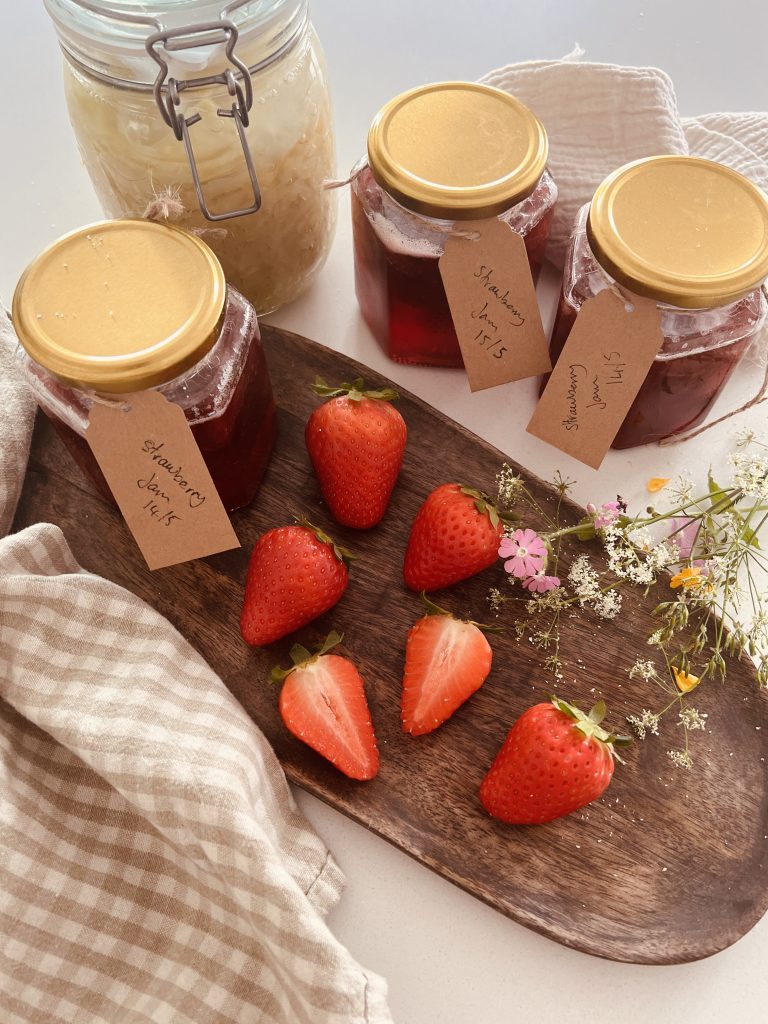
Strawberry and Rhubarb Jam
Strawberry and rhubarb jam is one of those simple, seasonal recipes I come back to every year. When both are in season, I make several batches to last us as long as possible. There’s something lovely about preserving a little moment of summer to brighten a cold winter’s day! The sweetness of the strawberries balances out the tartness of the rhubarb perfectly, and using jam sugar keeps things simple, especially if you’re new to preserving.
We like to spread this strawberry and rhubarb jam on toast, swirl it into yogurt, dollop on top of homemade granola or use it in baking. It’s one of those easy recipes that quickly becomes part of your summer rhythm, and there’s something really satisfying about seeing your homemade jam jars sat on the shelf.
If you’ve never made jam before, this is a great place to start.
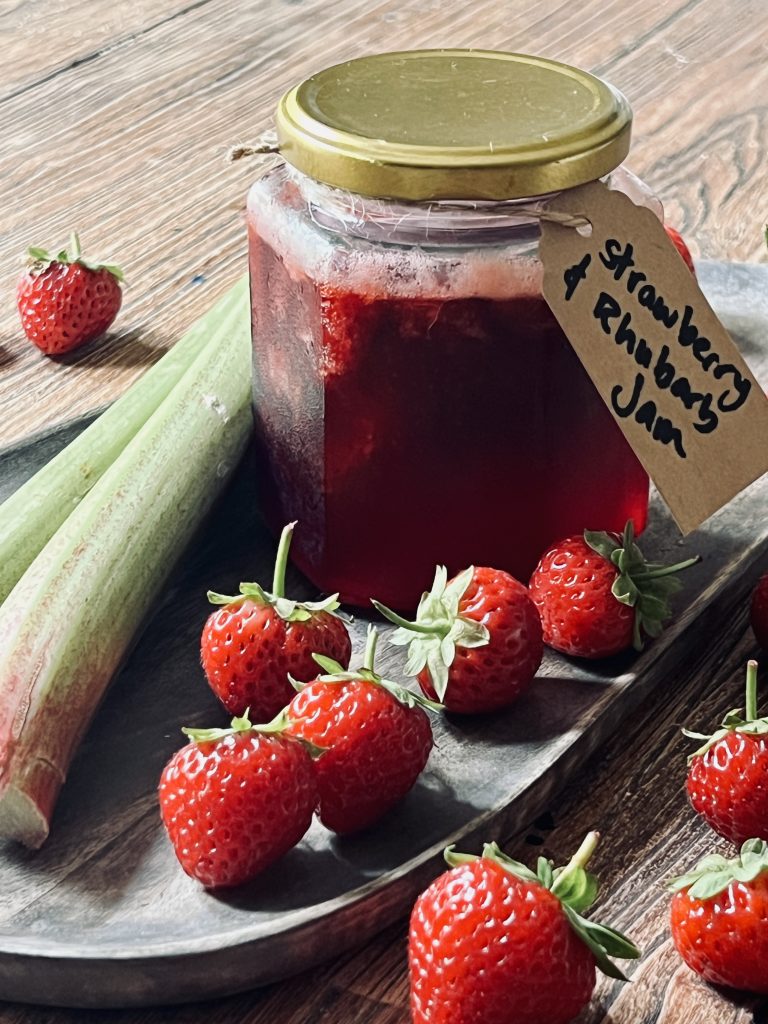
Ingredients You’ll Need
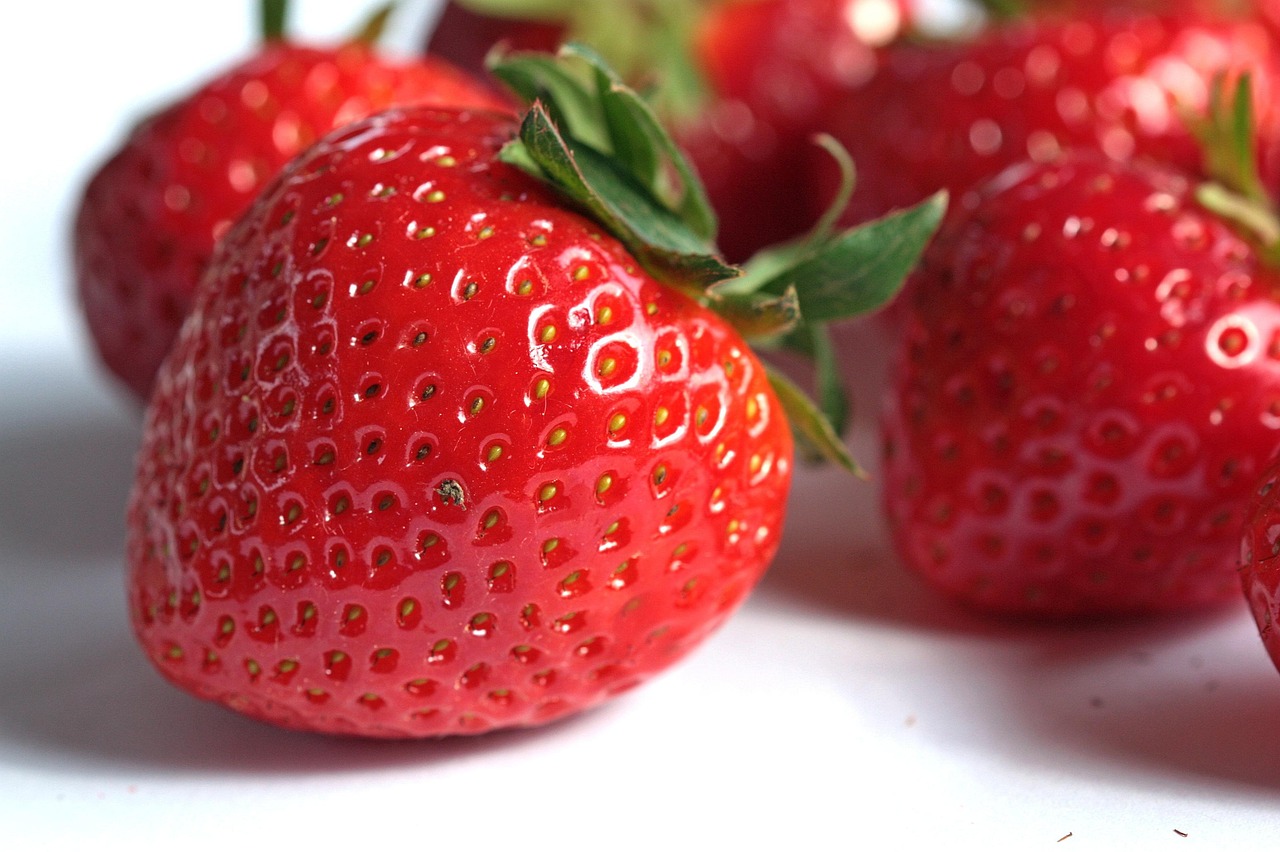
strawberries
Avoid using over ripe strawberries as they can contain too much water, which may affect how the jam sets.

rhubarb
Choose firm, fresh rhubarb stalks that are bright in colour and not too woody. Pink or green variety will both taste delicious. Avoid rhubarb that is limp or overly mature, as it can be tough and less flavoursome.

jam sugar
Jam sugar contains pectin which helps the jam set easily. If you don’t have it, use normal cane sugar and add a little extra lemon juice.
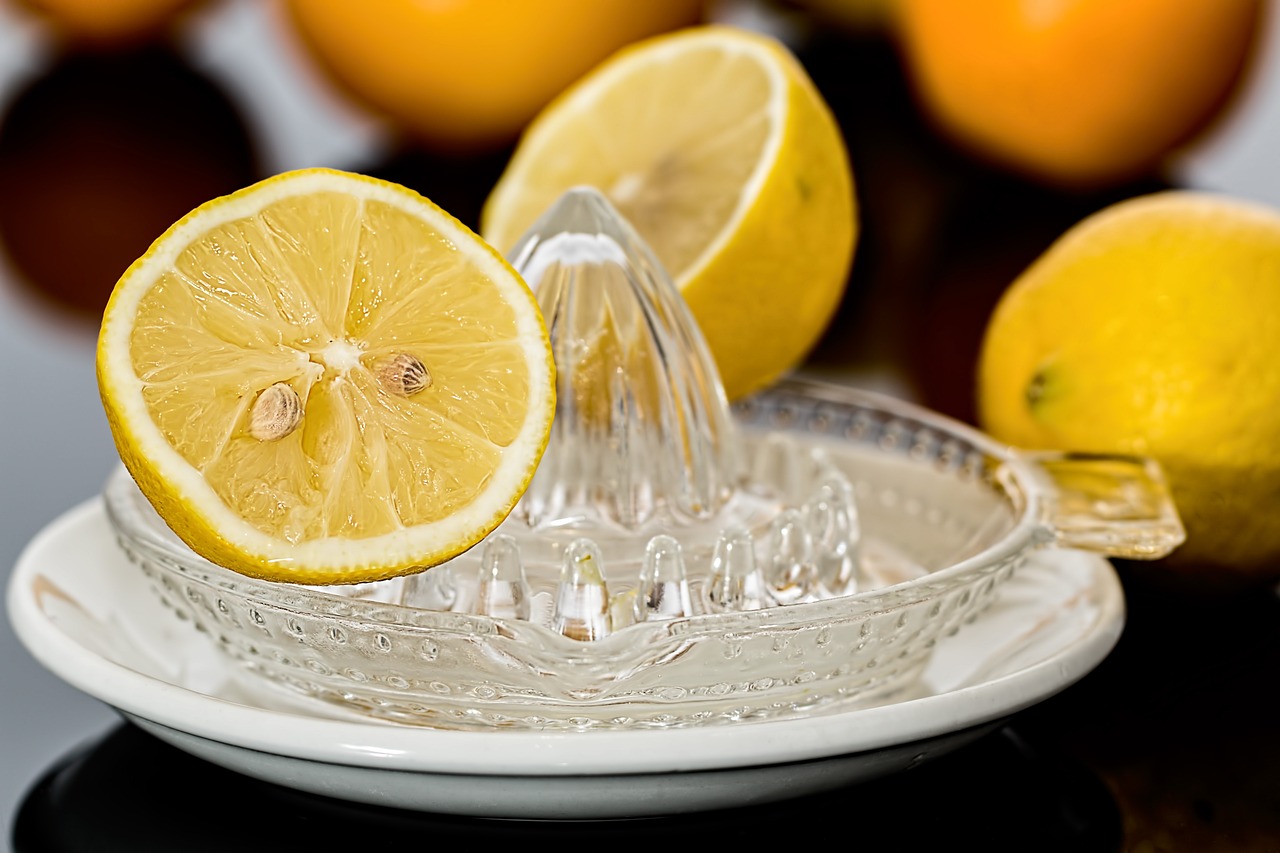
lemon juice
Lemon juice adds a bit of natural pectin and helps balance the sweetness.
How to Sterilise Jam Jars
- Preheat your oven to 140°C (120°C fan).
- Wash jars and lids in hot, soapy water. Rinse well. No need to dry.
- Place wet jars (upright) on a baking tray and put in the oven for 15–20 minutes.
- Boil lids in a pan of water for 10 minutes, then let them air dry on a clean tea towel.
(Don’t put plastic or rubber parts in the oven as they can melt.) - Fill jars while still hot to avoid cracking.
Wipe the rims, seal with lids, and you’re done!
How to Make Strawberry and Rhubarb Jam:
- Wash and chop the rhubarb into small pieces.
- Hull and halve the strawberries.
- Place the fruit in a large pan with the lemon juice.
- Gently heat for about 5–10 minutes, stirring occasionally, until the fruit softens and releases its juices.
- Add 1kg jam sugar and stir well to combine. Heat gently for a few minutes to dissolve the sugar.
- Once dissolved, bring the mixture to a rolling boil and boil hard for around 5 minutes, stirring constantly.
- Test the jam by placing a small spoonful on a cold plate that’s been in the freezer for a few minutes; if it wrinkles when pushed, it’s ready.
- Remove from heat and skim off any foam.
- After boiling, let the jam sit for 5-10 minutes before filling the jars. This helps keep the fruit evenly distributed instead of floating to the top.
- Pour the hot jam into hot sterilised jars, use tea towel to ensure sides of jars are clean before sealing gently but firmly, and leave to cool.
- Store in cool, dark place and once opened, consume with a few weeks.
Watch the full step-by-step process in the video below!

Strawberry and Rhubarb Jam
Ingredients
Equipment
Method
- Wash and chop rhubarb into small pieces.
- Hull and halve strawberries.
- Place the fruit in a large pan with lemon juice.
- Gently heat for about 5–10 minutes, stirring occasionally, until the fruit softens and releases its juices.
- Add jam sugar and stir well to combine. Heat gently for a few minutes until sugar dissolves.
- When the sugar is dissolved, bring the mixture to a rolling boil and boil hard for around 5 minutes, stirring constantly.
- Test the jam by placing a small spoonful on a cold plate that's been in the freezer for a few minutes; if it wrinkles when pushed, it’s ready.
- Remove from heat and skim off any foam.
- Let sit for 5-10 minutes to allow the fruit to disperse evenly when put into jars.
- Pour the hot jam into sterilised jars, seal firmly, and leave to cool.