Making a Sourdough Starter: A Beginner’s Guide
Making a sourdough starter is a magical process yet simple process. Just flour and water come to life creating a bubbly culture, creating the most delicious bread you’ll ever taste. If you’ve wanted to try sourdough but didn’t know where to begin, this guide is for you. It’s simpler than you think, requiring only patience, some flour and water, and two minutes of your time on a daily basis. I’ll walk you through every step to help you create your own wild yeast starter and enjoy homemade sourdough whenever you like.
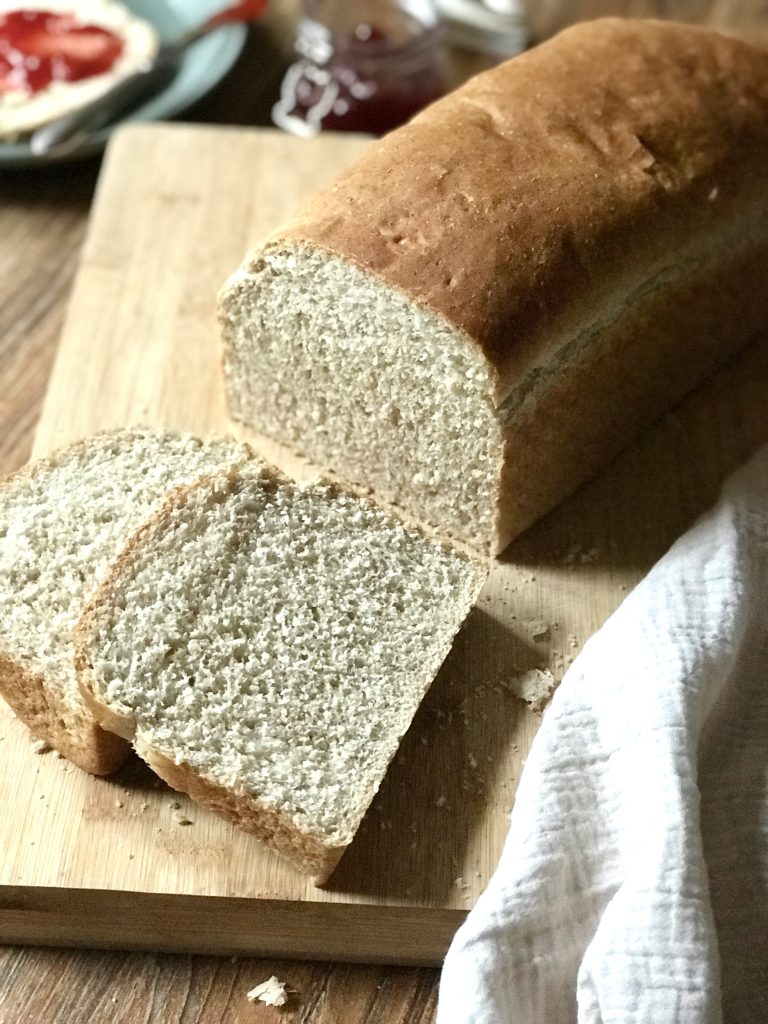
Once you’ve made this starter, try making a loaf of delicious homemade sourdough bread using this recipe. My aim is to make the process of making sourdough less intimidating and something enjoyed by anyone. I’ve tried to replace the strict rules and timings with something that feels more natural and intuitive.

Making a Sourdough Starter
Making a sourdough starter really is a simple process but it can feel a little intimating at first. There is no more to it than mixing flour and water together each day, and discarding some mixture in the process. I recommend using White Bread Flour but you can also use rye, spelt or wholemeal. Just be aware that when using these other flours, if you plan to bake with the discard, the discard imparts the strong rye or wholemeal spelt flavour into whatever it is your baking. If this is to your taste, then go ahead but if not, then use White Bread flour instead. I initially started with Wholemeal Spelt flour but on about day 6, I switched to White Bread flour.
Here’s a detailed guide:
To Begin:
- Initial Mix: In a clean jar, mix equal parts of flour and water. I recommend using 1/2 cup of each. Use white bread flour, spelt or wholemeal flour…all work well. The water should be at room temperature and filtered.
- Covering: Cover the jar loosely with a cloth sealed with a rubber band or a lid that’s not tightly sealed. This allows the mixture to breathe and capture wild yeast from the air.
- Location: Place the jar in a warm spot with a stable temperature, away from direct sunlight. Consistency in temperature is key to encouraging the growth of yeast and good bacteria.
Feeding Daily:
- Feeding Schedule: Every 24 hours or so, feed your starter. Discard half of the mixture (you can either use it for baking recipes like pancakes or discard it – I would suggest only baking with the discard 5-7 days into the process as by then your starter will have shown more signs of life). Then add 1/2 cup of flour and 1/2 cup of water. Stir well to incorporate using a wooden spoon.
- Observing Changes: In the first few days, you might not notice much change. However, by days 3 or 4, your starter should start showing signs of life: small bubbles, a slight rise in the mixture, and a more pronounced aroma.
- Adjusting Consistency: Your starter should have a thick, pancake batter consistency. If it’s too runny, add a bit more flour. If it’s too thick, add a bit more water. Consistency influences the activity of the yeast. Starters tend to be fairly resilient so don’t panic if you’ve made it too runny. Simply add a bit more flour until you achieve the desired thick pancake batter consistency. Make sure you scrape down the sides of the jar each time after you’ve finished stirring in the flour and water.
Nurture Your Starter:
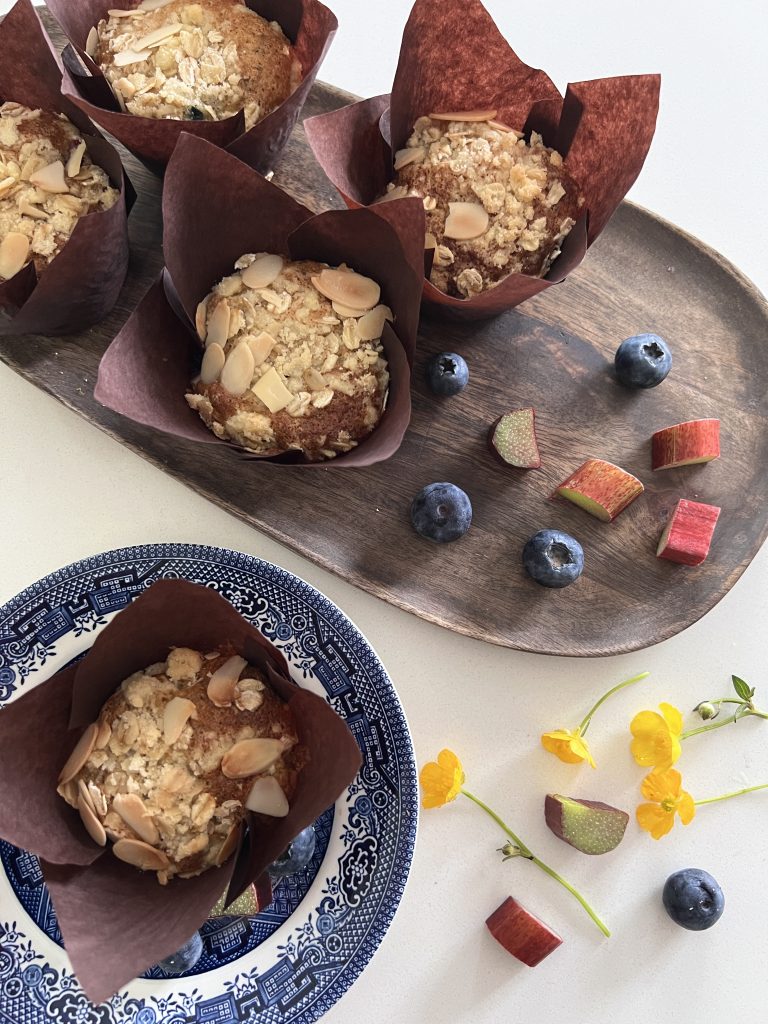
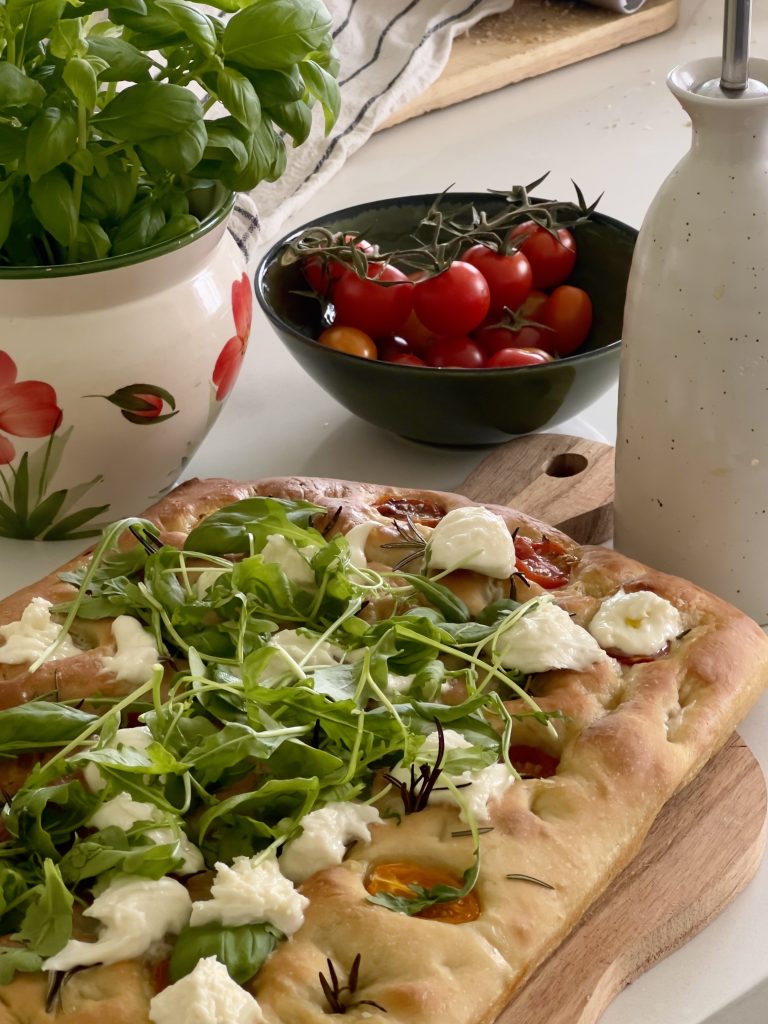
- Bubbling Activity: Around day 5 or 6, you should see more bubbling, an indication that the yeast is active and fermenting. This is a good time to start using the discard in recipes such as pancakes , muffins or pizza bases.
- Smell: The starter will develop a tangy, slightly sour smell. This is a good sign. It means the natural bacteria are creating the acidic environment necessary for sourdough baking. For a deeper understanding of the science behind sourdough starters, including how wild yeasts and bacteria contribute to fermentation and flavour development, check out this detailed article from Serious Eats.
- Doubling in Size: A mature starter will roughly double in size within a few hours of feeding as the yeast produces gases. This shows it’s strong enough to leaven bread. Don’t panic if yours doesn’t; as your starter matures, it will rise higher.
- The Float Test: To check if your starter is ready for baking, drop a small spoonful into a bowl of water. If it floats, it’s full of gas and ready to use. This is often around day 7 although depending on the temperature of your room, could vary a few days.
Maintain Your Starter
Once your starter is active, you can switch to feeding it with a ratio of 1:1:1 (starter, water, flour) for maintenance. Don’t get too bogged down with this as I never weigh my starter; I simply remove a cup of starter and then add my flour and water and stir. My starter still works and creates amazing sourdough, despite the starter not being exactly a 1:1:1 ratio! The best piece of advice is you’re looking for a thick pancake batter consistency; if you make it too runny just add a bit more flour.
If you bake often, keep it at room temperature, feeding it daily and using the discard in recipes. If you bake less frequently, store it in the fridge and feed it once a week. When you take it out of the fridge, be sure to discard roughly half, then feed it immediately and use to make sourdough 3-6 hours after the feed or when it’s roughly doubled in size and has lots of bubble activity. This is when your starter is at its peak strength and will give the best rise and flavour to your bread.
Creating a sourdough starter is more than just a step in baking, it’s nurturing a living culture right in your kitchen. While it requires patience and care, the rewards are endless delicious possibilities. Over time, your starter will become a treasured part of your baking routine, growing stronger and more flavourful. Don’t worry about switching flours; I’ve used different types myself, and starters are resilient and adapt well. Just keep in mind that flours like spelt and rye absorb more water, so you might need to add a bit more when using them.
Final Tips and Troubleshooting When Making a sourdough starter
- Be Patient: Every starter is unique and may take a bit longer to become active depending on temperature and flour type. Don’t be discouraged if your starter takes 8–10 days instead of 7.
- Watch for Mold or Off Smells: Healthy starters smell tangy or yeasty, never rotten or pink. If you see any fuzzy mold or strange colors, it’s best to start over.
- Adjust Feeding Ratios as Needed: You can tweak the flour and water amounts to keep your starter at the right consistency for your climate and baking schedule.
Ready to Bake?
Once your starter is bubbly and doubling consistently, you’re ready to move on to baking delicious sourdough bread! Check out this Homemade Sourdough Recipe for easy, step-by-step instructions to turn your starter into amazing bread.