Easy Pitta Bread
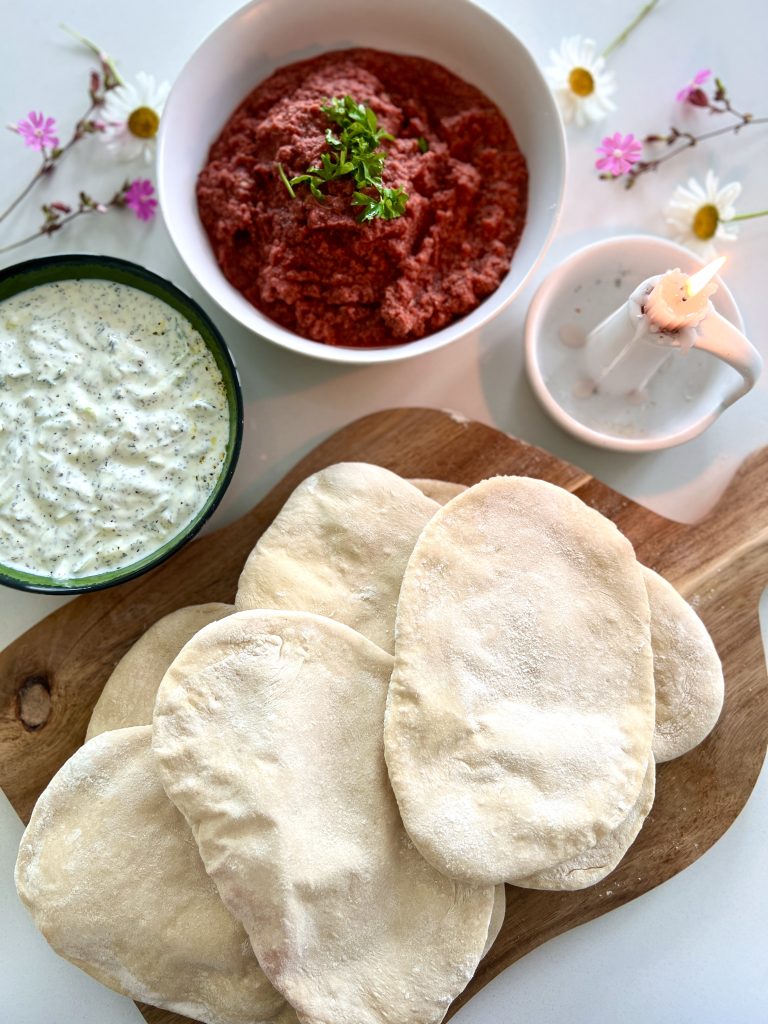
I love making easy pitta bread at home because it’s surprisingly simple and tastes so much better than shop-bought versions. Soft, fluffy, and perfect for filling with your favourite sandwiches, dips, or grilled meats, these homemade pittas use just a handful of pantry ingredients and come together with very little effort. Whether you’re serving them alongside hummus or using them for wraps, this easy pitta bread recipe is one you’ll want to make again and again.
If you love baking bread from scratch, be sure to try my homemade English muffins or easy sourdough bread recipe for more delicious baking inspiration. Curious about the origins of pitta bread? You can read more about its history and how it’s enjoyed around the world.
What You’ll Need to make Easy Pitta Bread

white bread Flour
White bread flour works well but use wholemeal or spelt flour if you prefer.
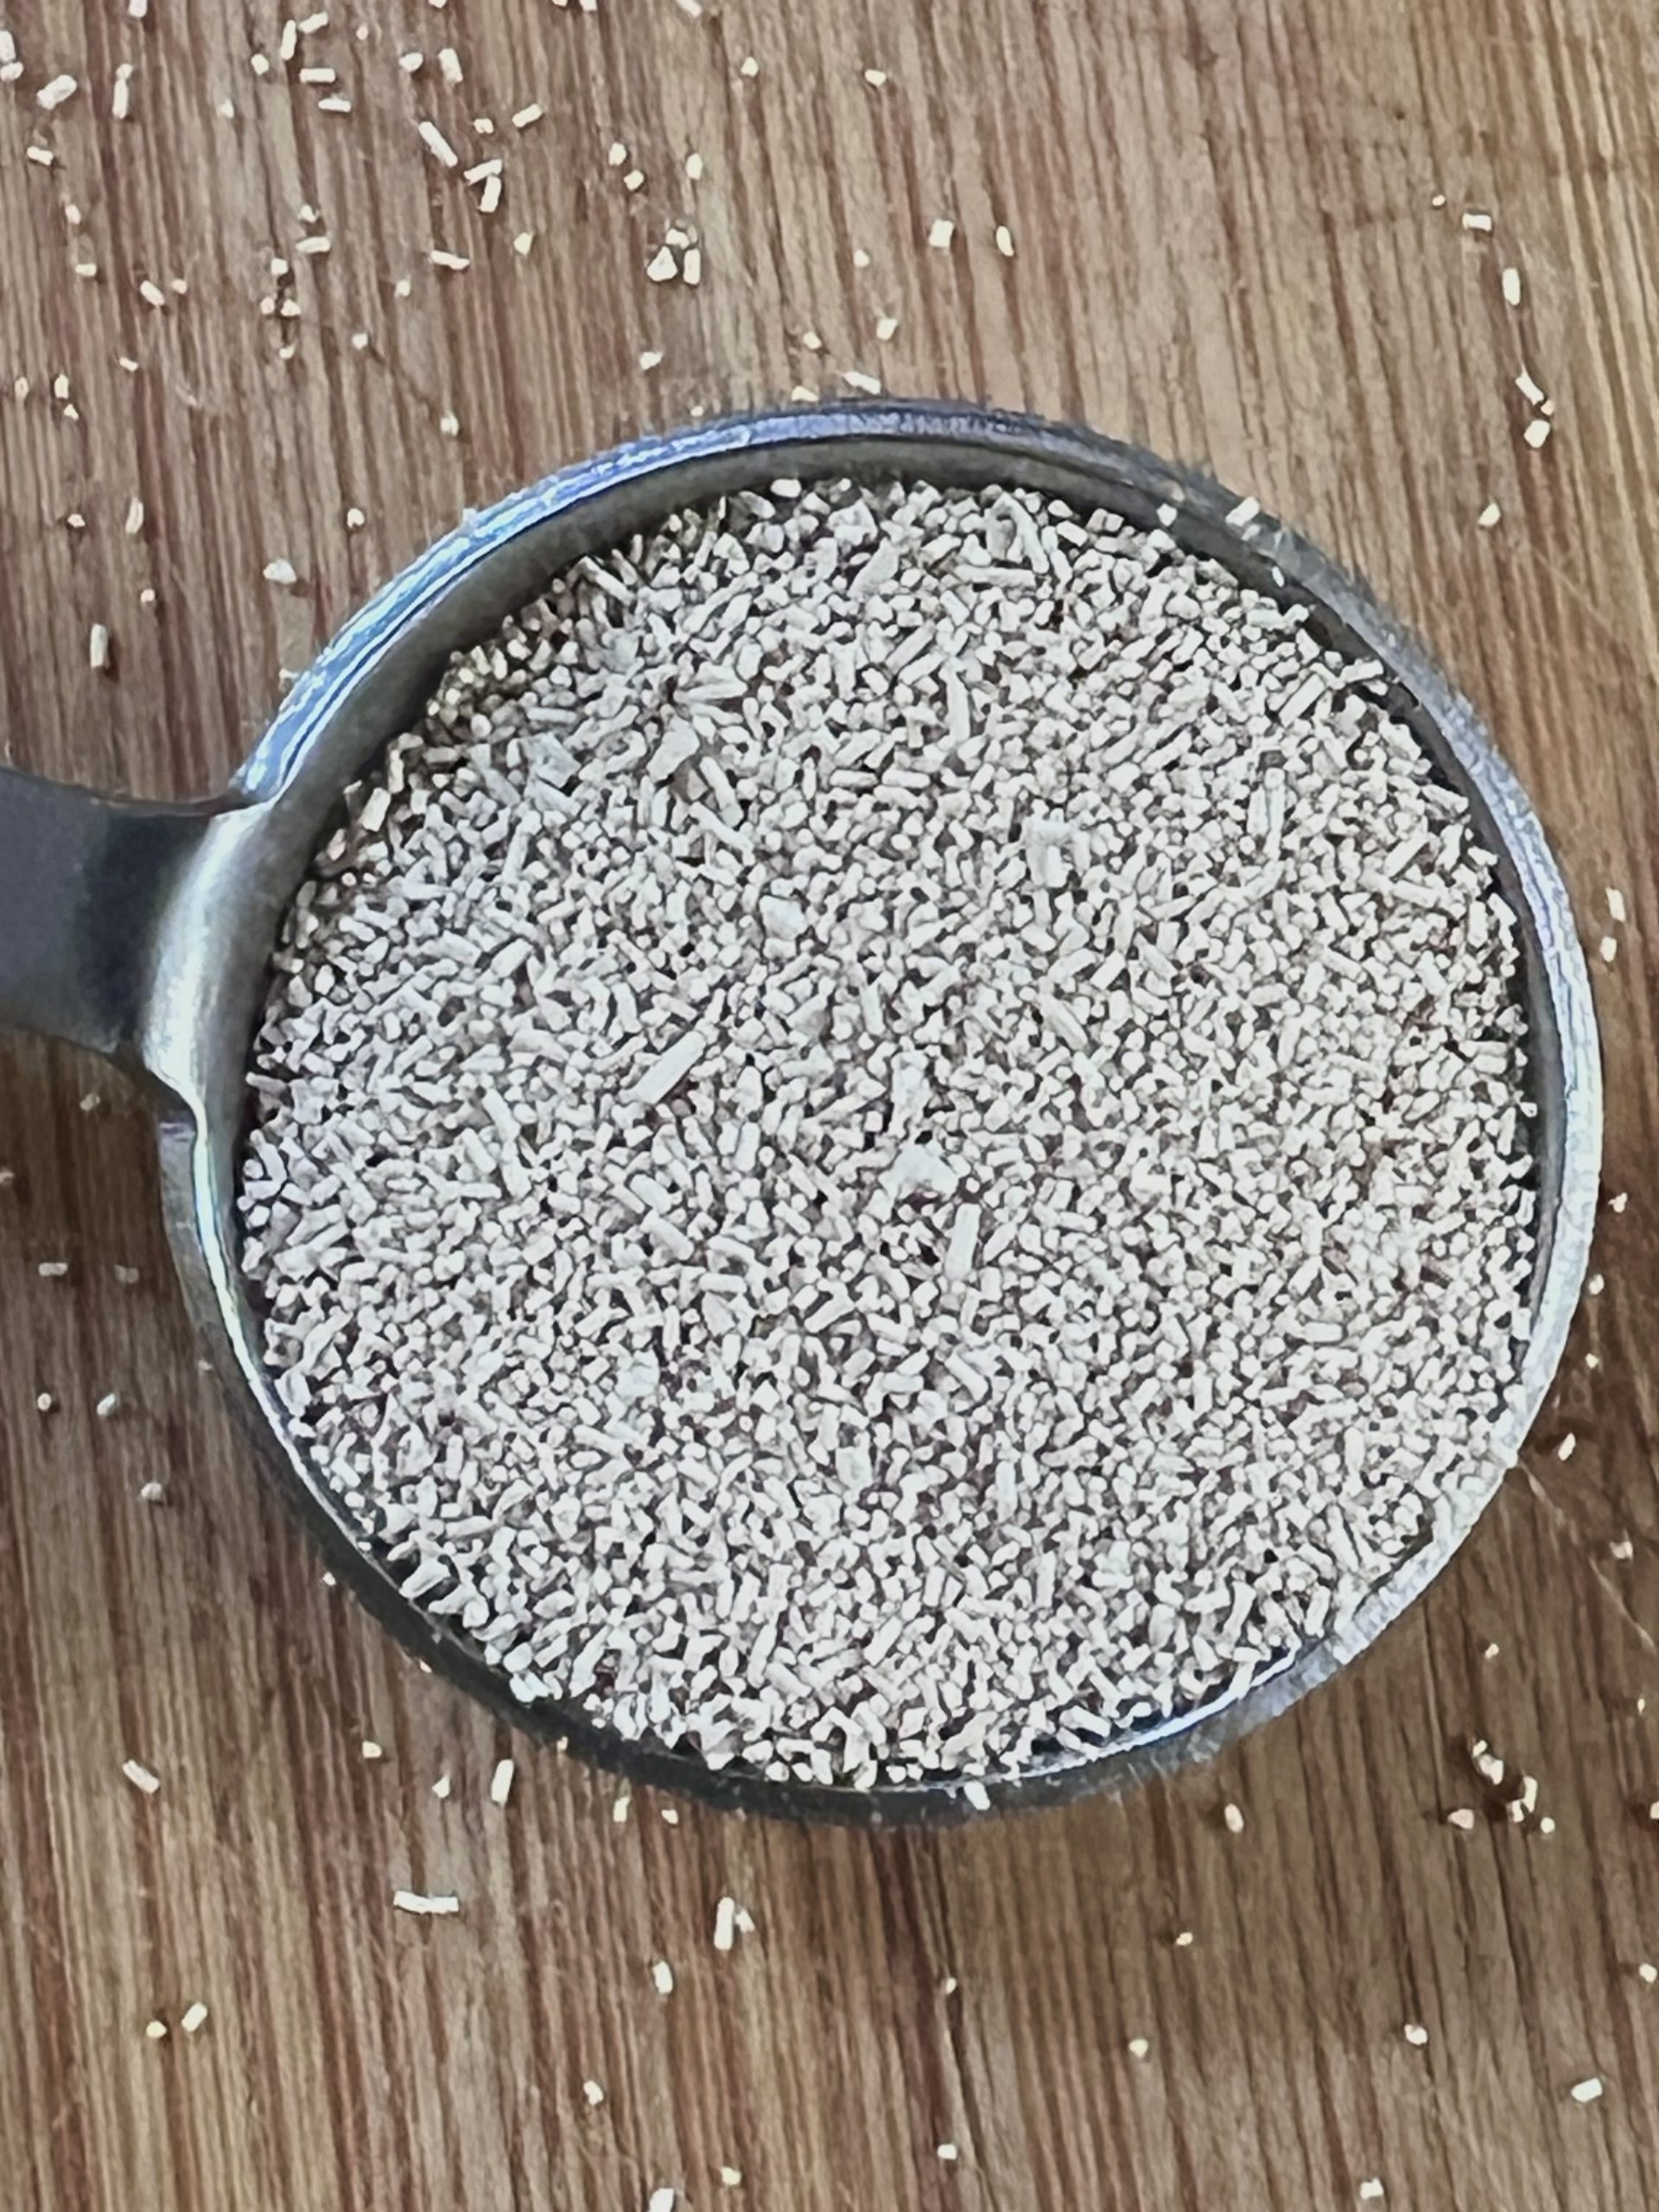
yeast
Fast action yeast
salt
Fine sea salt works well

olive oil
Extra Virgin olive oil
Easy Pitta Bread Instructions:
Step 1
Add the bread flour, yeast and salt to a large mixing bowl and stir everything together. Pour in the olive oil followed by the warm water, then mix until a soft dough forms and there are no dry patches of flour remaining.
Step 2
Turn the dough out onto a lightly floured work surface and knead for 5–10 minutes until smooth and elastic, or use a stand mixer with the dough hook attachment. Only add a little extra flour if the dough is sticking, as keeping it soft will help create light and fluffy pittas. Place the dough into a lightly oiled bowl, cover with a clean tea towel, and leave to rise for around 1 hour or until doubled in size.
Step 3
Preheat the oven to 250°C (230°C fan) with a large baking tray inside so it becomes very hot. Divide the risen dough into 8 equal portions and shape each into a ball. Roll each piece into an oval about 20cm long, 15cm wide and roughly 3–5mm thick.
Step 4
Carefully remove the hot baking tray from the oven and lightly dust it with flour. Arrange the pittas on the tray, leaving a little space between them, and bake for 4–5 minutes until they puff up and are lightly golden. Cook in batches if needed, then wrap the baked pittas in a clean tea towel to keep them soft while the remaining ones bake.
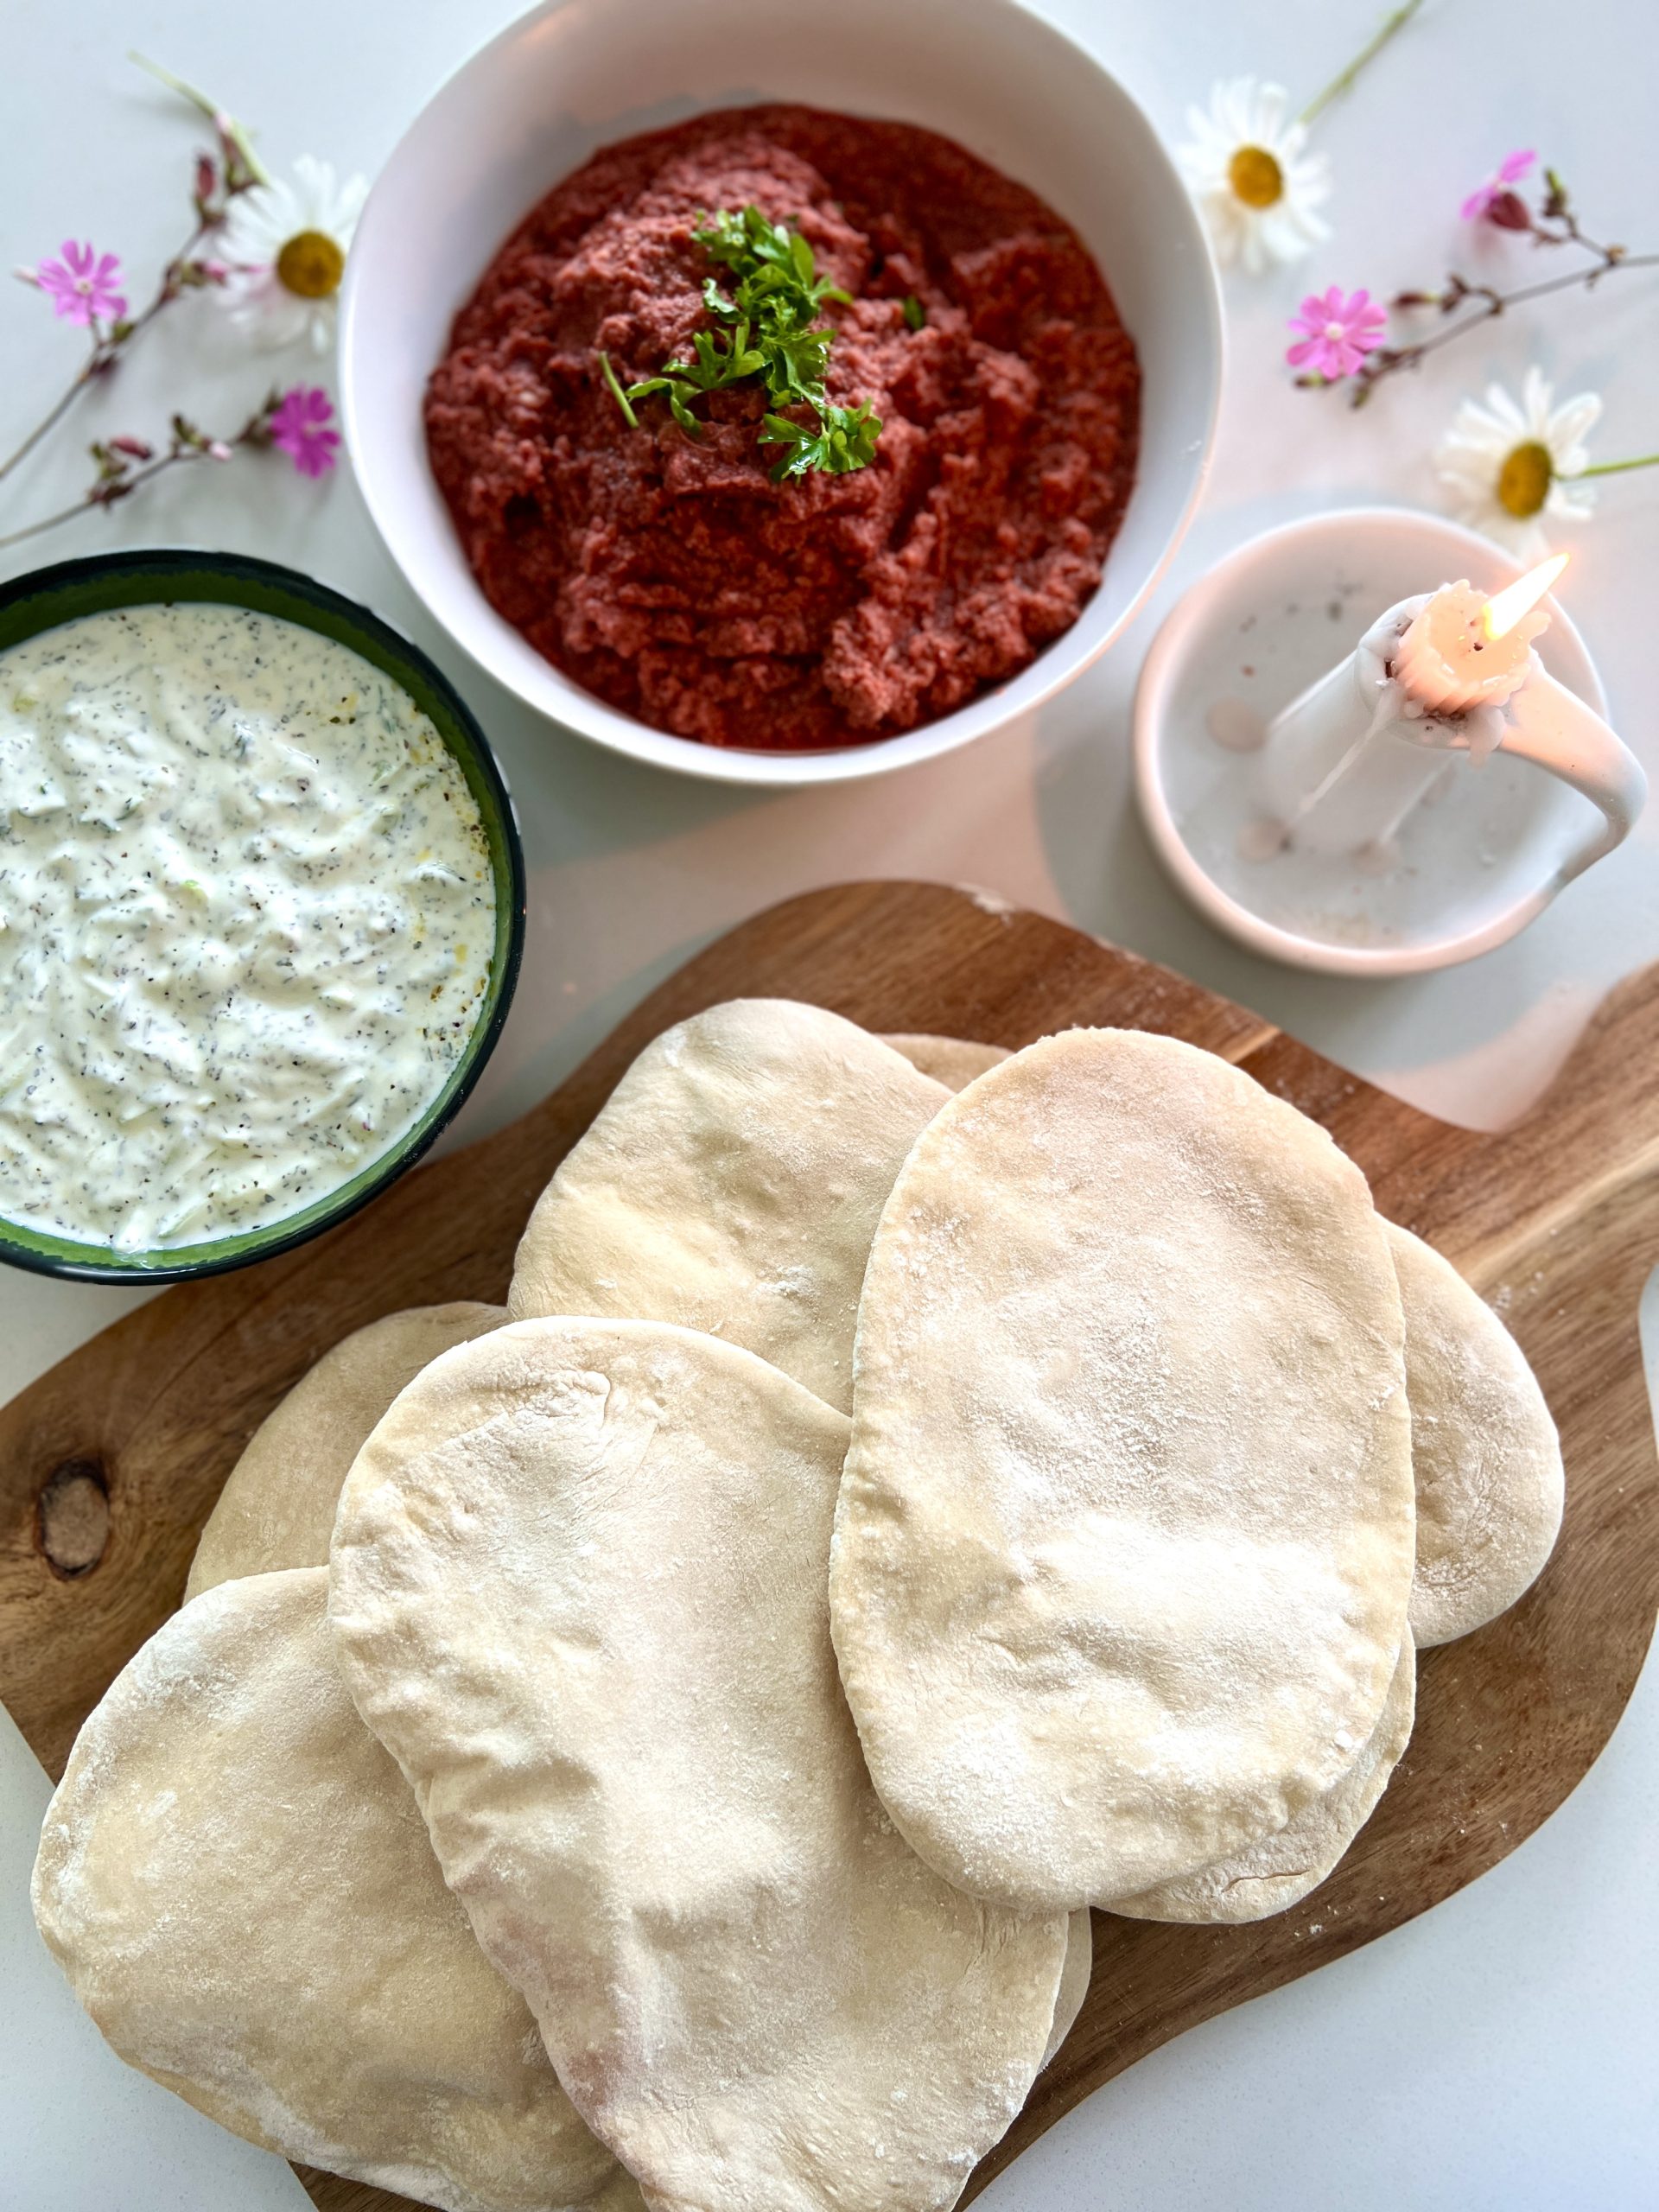
Easy Pitta Bread
Ingredients
Equipment
Method
- Add the bread flour, yeast and salt to a large mixing bowl and stir everything together. Pour in the olive oil followed by the warm water, then mix until a soft dough forms and there are no dry patches of flour remaining.
- Turn the dough out onto a lightly floured work surface and knead for 5–10 minutes until smooth and elastic. Only add a little extra flour if the dough is sticking, as keeping it soft will help create light and fluffy pittas. Place the dough into a lightly oiled bowl, cover with a clean tea towel, and leave to rise for around 1 hour or until doubled in size.
- Preheat the oven to 230°C fan with a large baking tray inside so it becomes very hot. Divide the risen dough into 8 equal portions and shape each into a ball. Roll each piece into an oval about 20cm long, 15cm wide and roughly 3–5mm thick.
- Carefully remove the hot baking tray from the oven and lightly dust it with flour. Arrange the pittas on the tray, leaving a little space between them, and bake for 4–5 minutes until they puff up and are lightly golden. Cook in batches if needed, then wrap the baked pittas in a clean tea towel to keep them soft while the remaining ones bake.
Notes
- For the best pitta pockets, make sure the oven and baking tray are fully preheated before baking.
- Keep the dough soft by adding only a small amount of extra flour while kneading. A wetter dough produces lighter, fluffier pittas.
- If your pittas don’t puff up completely, they’ll still taste delicious and can be used as flatbreads or wraps.
- Wrap the freshly baked pittas in a clean tea towel as they come out of the oven to keep them soft.
- Homemade pitta bread freezes well for up to 3 months. Defrost at room temperature and warm before serving.
- Pittas are best enjoyed warm. Toast or heat them for a minute or two before serving to restore their soft texture if they’ve cooled.