How to Preserve Your Summer Harvest
Late summer in the UK is a truly magical time of year! For those who cherish the rhythms of the seasons, it’s a moment to fully embrace all that summer has to offer. At the same time, gardens, hedgerows, and local markets are bursting with an abundance of fresh produce from soft fruits, fragrant herbs, and vegetables such as tomatoes, cucumber, and courgettes. These are the perfect ingredients to preserve your summer harvest.
Learning how to preserve the summer harvest is not just a practical way to extend the life of your fruits, vegetables, and herbs, it’s also an opportunity to be more mindful in the home and embrace a slower way of life! So, by taking the time to preserve your produce now, you get to experience the vibrant flavours and colours of summer in the darker days of winter.
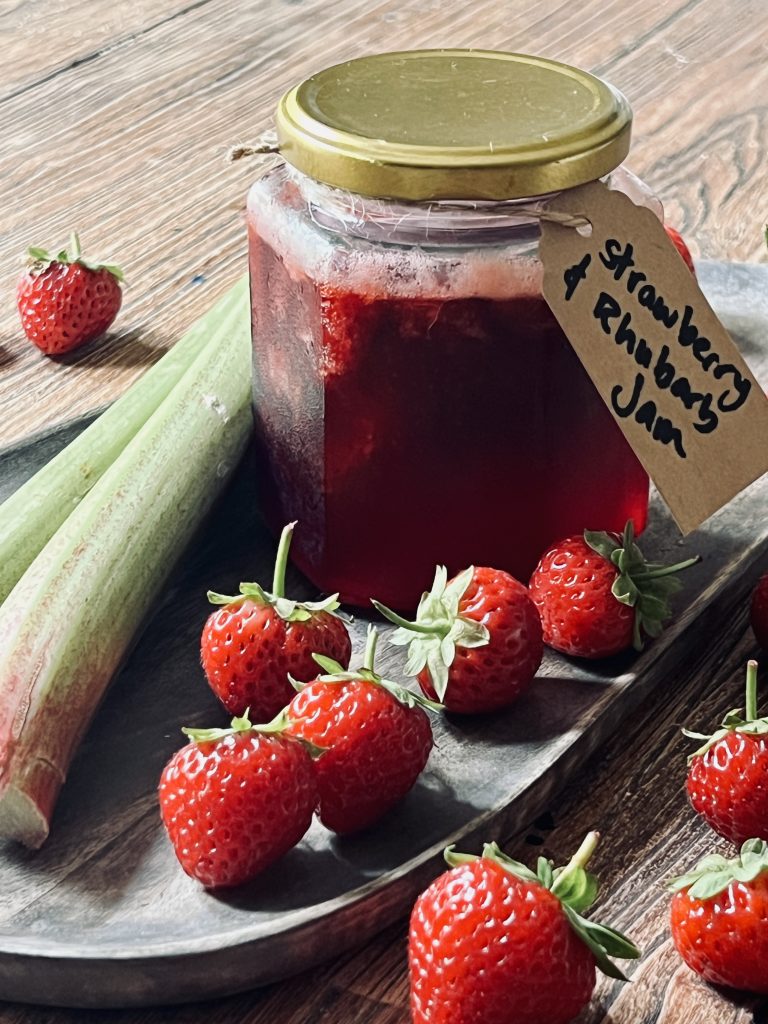
How amazing to open a jar of strawberry and rhubarb jam you made and, on a cold winter’s day, reminisce about the joys of summer! Or open a jar of pickles or sauerkraut you lovingly preserved, to add a burst of flavour to a winter stew or to enjoy alongside a comforting bowl of soup. Really, it’s like preserving a memory, a moment in time that can be revisited and relived through the fruits of your labour (no pun intended!).

Why Preserve Your Summer Harvest?
We all know how quickly summer fades, as the leaves turn yellow and the cosy feeling autumn begins to settle in.
The abundance of produce can easily overwhelm you, and you might let some turn bad, losing a lot of your hard work in the process! The inevitable glut of tomatoes piling up on the counter top, wrinkling. The soft fruits overripe and weeping their juices; courgettes multiplying overnight! It can feel like a race against time to preserve everything!
Learning a few simple ways to preserve your harvest will reduce stress and provide you with practical ways to make the most out of this abundance.
Although preserving produce certainly reduces waste, the benefits go even further. For instance, well-stocked cupboards and a full freezer provide homemade staples that save money and cut reliance on supermarkets. This way, it means you always have something delicious to brighten up a simple meal or form the base of a hearty soup or stew.
Different Ways to Preserve Seasonal Produce:
There are many simple and traditional methods to preserve your summer harvest, each with its own charm and purpose. So, to get started, you only need a few jars with lids and some freezer space.
By choosing the right method for the right type of produce, you can make the most of what’s available and enjoy it for months to come.
Freezing:
Perhaps the easiest way to preserve fruits and vegetables is freezing. For example, soft fruits like berries can be spread on a tray and frozen individually before bagging. In addition, vegetables such as broccoli, courgettes, and beans benefit from blanching first. Overall, freezing locks in freshness and makes it easy to add a handful of summer flavour to meals on a cold winter’s day.
Jams, Chutneys & Relishes:
Ideal for gluts of fruit or vegetables. For example, a pot of homemade jam, a tangy chutney, or a spiced relish captures the essence of summer and makes a wonderful gift as well as a pantry staple.
Pickling & Fermenting:
When cucumbers, onions, and cabbage are pickled or fermented, they transform beautifully over a few days. Sauerkraut, kimchi, or simple vinegar pickles not only extend the life of your vegetables but also add gut-friendly benefits.
Drying & Dehydrating:
Drying works well for tomatoes, apples, and even courgettes. A low oven or dehydrator concentrates flavours and provides handy ingredients for soups, stews, and snacks. My children love dried apple rings and it’s a simple way to use up a surplus of apples!
Don’t panic, if you don’t have a dehydrator, your oven works just as well. Slice fruit or vegetables thinly and lay them on a baking tray lined with parchment. Set your oven to its lowest temperature (usually around 50–70°C / 120–160°F).
Keep the door slightly ajar to allow moisture to escape. Depending on the produce, drying can take several hours. For instance, tomatoes may take 6–8 hours, while apples or courgettes might be ready in 3–4. Once completely dry and leathery but not burnt, store them in airtight jars.
Herb Butters, Oils & Vinegars:
These infusions capture flavours that can be enjoyed throughout the year, making even the simplest dishes taste better. Try apple cider vinegar, or garlic, chilli, or basil infused olive oil. Or experiment with rosemary and thyme, or garlic and parsley butter. These simple concoctions can transform your meals and bring a taste of summer to your table!
These methods are practical solutions for modern kitchens. At the same time, they also connect us to age-old traditions of food preservation. Admittedly, I know it takes a bit of time and effort, but you will thank yourself when you turn the surplus of produce into nourishing kitchen staples!
Tips For Getting Started:
Starting your preserving journey doesn’t have to feel overwhelming. Even a small effort can turn a summer glut into a some delicious staples ready for the colder season. Here are some tips to make it manageable and enjoyable:
Start Small:
To begin, focus on one or two types of produce at a time. For example, pick a load of tomatoes for freezing or roast them in the oven with some olive oil, garlic and basil and whizz them up to make pasta sauce. Or pick berries and boil them down with some jam sugar and make some delicious homemade jam. Starting small with just a few items helps to avoid overwhelm. That way, this will allow you to grow in confidence before tackling larger gluts. Once you’ve mastered a few basic methods, adding more fruits and vegetables becomes easier and more rewarding.
Use What You Have:
Relax! You don’t need special equipment or a large kitchen to preserve your harvest. To start, you only need a few clean jars with lids, a freezer, some storage containers, and a saucepan for jams. Simple tools like a sharp knife, chopping board, or sieve can make the process easier.
The main thing is just to get started! Then, you can always add more items such as jar weights or burping funnels as you develop your skills. In the meantime, use what you already have; be creative!
Label Everything:
So, labelling your jars and containers may not seem like a big deal, but trust me, it’s a lifesaver in the months ahead! For example, I like to use brown paper packing tape as it’s tearable, though a simple sharpie written on jars works too. Also, make sure to include the date and contents on each jar or bag. This way, it will remind you what to use first and help you rotate your stock efficiently.
Keep It Simple:
Remember, preserving doesn’t need to be complicated. So, for freezing, lightly blanch vegetables before packing them. For jams, use a simple sugar-and-fruit ratio; for pickles, a basic vinegar, salt, and spice mix works well. The simpler your methods, the more likely you are to keep going year after year. Over time, as confidence grows, you can experiment with more adventurous flavours or combinations.
Make It a fun Ritual:
The true magic of preserving lies in the process. Try to turn it into a slow, mindful activity rather than a chore. Play music, involve family, and enjoy the experience! Have fun with it! If you find yourself getting overwhelmed, take a break. Worst comes to worst, just put the produce in the fridge and start the next day.
So, by following these tips, even beginners can confidently start preserving their summer harvest. What may begin as a practical way to save food quickly becomes a treasured seasonal ritual, connecting you with the rhythm of nature and the joys of slow living. Happy preserving!